Technique · 7 min read
Bobbers and floats: fixed, slip and when to use each
Clip-on, pencil, slip and lighted bobbers, how to set the depth, how to balance a float with split shot, and how to read the bite.
Updated
First Cast Fishing earns a commission when you buy through links on this site, at no extra cost to you. Affiliate disclosure
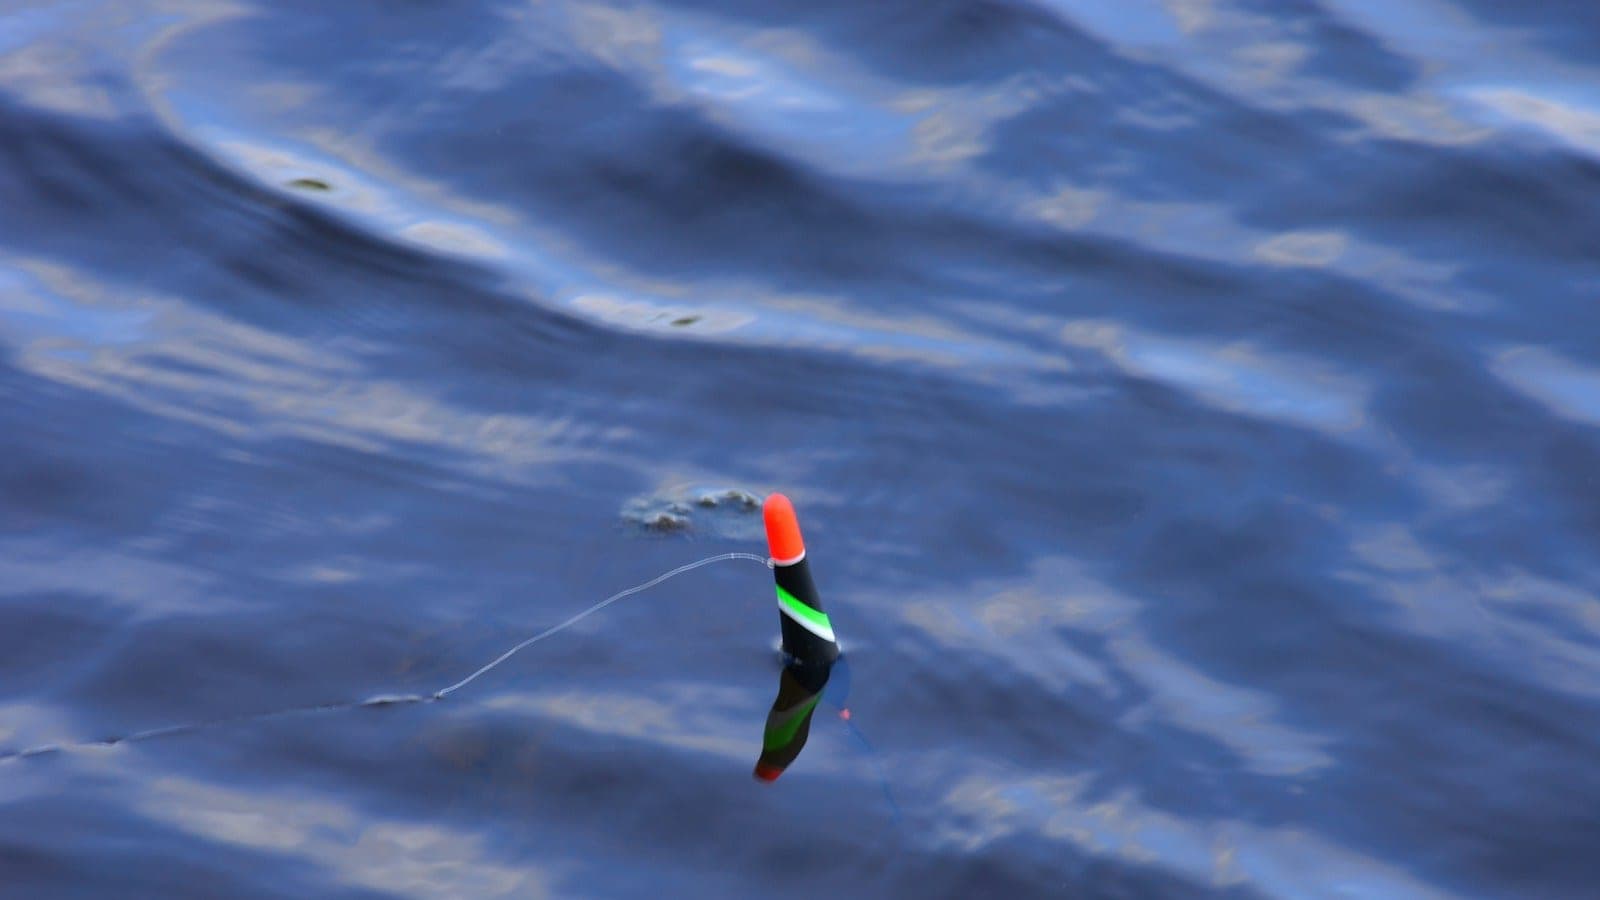
A bobber does two jobs: it holds your bait at a set depth, and it tells you when a fish takes it. That sounds simple, and it is, but the kind of float you choose and how you rig it decide whether you see a bite or miss it. This guide covers the four float types most anglers use (round clip-on, pencil, slip and lighted), how to set the depth, how to balance a float with split shot so it is sensitive, and how to read what the float is telling you.
Fixed or slip
There are two ways to attach a float.
- Fixed: the float clamps to the line at one spot. The depth is the distance from the float to the hook. Easy to rig and to move, but you can only cast comfortably with about as much line below the float as your rod is long.
- Slip: the line runs freely through the float. A small stop on the line above it sets the depth. When you reel in, the stop goes through the rod guides and onto the reel, so you can fish 15 or 25 feet deep and still cast with a short leader hanging below the rod tip.
Use a fixed float when the bait needs to sit no deeper than about 6 feet. Use a slip float when the fish are deeper than your rod is long.
Round clip-on bobbers
The red-and-white ball is the float most people learn with. Press the plunger on top to open the small wire clips, catch the line in them at the top and bottom, release, and the bobber is on. To change depth, slide it up or down.
They are quick, visible and nearly impossible to rig wrong, which makes them ideal for kids, for bluegill off a dock, and for anyone fishing a worm in shallow water. The downside is resistance: a round float takes some effort to pull under, so a cautious fish may feel it and let go. Use the smallest round float that holds up your bait. A 3/4- to 1-inch ball suits a worm and a split shot for panfish; save 1 1/2- to 2-inch floats for minnows and bigger baits. The Eagle Claw snap-on floats are an assorted 12-pack of round clip-on floats. Browse round bobbers.
Pencil, spring and stick floats
A slim float is far more sensitive than a ball. Because only a narrow tip sits above the water, a fish can pull it under with almost no resistance, and the tip shows small lifts and nudges that a round float hides. Many attach with a rubber sleeve or a spring at the stem, so they stay fixed on the line but slide to set the depth.
Use a slim float for crappie, trout, perch and any fish that bites lightly, and in calm water where you can see a small movement. They do not cast as far as a weighted float and they ride poorly in waves. Browse pencil floats.
Slip bobbers
A slip bobber is a float with a tube or hole through the center. It is the tool for walleye on a rock reef, crappie suspended over brush in 15 feet, and any fish deeper than about 6 feet.
How to rig it, from the rod tip down:
- A bobber stop on the main line. A knotted thread stop or a small rubber stop both work; the knotted kind slides through the guides more smoothly.
- A small bead, so the stop cannot pull through the hole in the float.
- The slip float.
- Split shot or a small sinker to carry the bait down and cock the float upright.
- The hook and bait.
Cast, and the weight pulls the line through the float until the stop meets the bead. The bait then hangs at exactly the depth you set. To change depth, slide the stop up or down the line.
The Thill Pro Series slip floats come in several sizes, so you can match the float to the bait and the weight. The Thill bobber stops are a 40-pack of fluorescent orange stops, easy to see when you slide them to a new depth. Pair them with plain round beads from beads, stops and trailers.
Lighted bobbers for night
Crappie, catfish, walleye and many saltwater fish feed after dark, when an ordinary float disappears. A lighted bobber carries a small LED or takes a chemical glow stick in its top. Fish it exactly like a slip or fixed float. Look for a float that shows clearly at the distance you cast, and carry spare batteries or glow sticks. The QualyQualy lighted slip bobbers are 1.75-inch slip floats with an LED and a lithium battery. Browse lighted bobbers.
Setting the depth
Most fish feed near the bottom or just above weeds and brush, so the first job is to find the depth.
- Find the bottom. Set the float deeper than you think the water is and cast. If the float lies flat on its side instead of standing up, the weight is resting on the bottom. Shorten the depth until the float stands upright, then you know roughly how deep it is.
- Then fish just above it. Start with the bait 1 to 2 feet off the bottom, or just above the tops of the weeds or brush.
- Adjust for the species. Crappie often suspend at a level in the middle of the water column, so try several depths. Walleye usually feed close to the bottom. Bluegill in summer may hold at 4 to 8 feet over deeper water.
- Move in steps. If nothing bites in 15 minutes, change the depth by a foot or two before you change the spot.
Balancing the float
A balanced float rides low, with just the top showing. That makes it sensitive, because a fish feels almost no resistance when it pulls the bait down.
- Choose a float sized for the bait. A small float under a big lively minnow gets pulled under all day; a big float under a tiny jig hides every bite.
- Add split shot until only the top third of the float shows, or just the colored tip on a pencil float. Many floats are marked with the weight they need.
- Put most of the shot about 12 to 18 inches above the hook, so the bait swims freely below it.
- Add one small shot 6 to 8 inches from the hook as a "tell-tale". It drops the bait quickly and shows lift bites, when a fish rises with the bait and takes the weight off the float.
An assortment such as the 78-piece Eagle Claw split-shot assortment puts several sizes in one pack, so you can balance floats of different sizes. Removable shot with "ears" lets you move or change shot without cutting the line. Browse split shot.
Reading the bite
A float tells you what the fish is doing. Learn the main signals:
- The float goes straight under. A fish has the bait and is swimming down. Reel up the slack and set the hook.
- The float twitches or bobs but stays up. A fish is nibbling or nosing the bait. Wait. Small fish do this a lot; a bigger fish usually takes it down.
- The float slides sideways across the surface. A fish has the bait and is swimming off with it. Reel up the slack and set.
- The float rises or falls flat. A lift bite: a fish has picked up the bait and the shot, so the float loses its weight. Set the hook. This is common with crappie and is the reason for the tell-tale shot.
With a J hook, set as soon as you see a clear take. With a circle hook, do not jerk: reel steadily until the line comes tight and the rod bends. Read fishing hooks decoded for how each hook sets.
Keep slack out of the line between the rod tip and the float. A big bow of line on the water makes your hookset slow and pulls the float off its spot in a breeze. Point the rod at the float and reel up gently after each cast.
A starter float kit
- A few round clip-on floats, 3/4 to 1 1/2 inches.
- Two or three slip floats in different sizes, with stops and beads.
- A few pencil floats for light biters.
- A dial of removable split shot.
- One or two lighted floats if you fish after dark.
Browse all bobbers and floats. For keeping the small parts sorted, read organizing a tackle box.